Later Note: Looking back at this post, my instructions are long and make the project look complicated. I’ve done this process with students A LOT, so I’ve included a lot of detail. Please don’t be intimidated – there are really only two main steps:
- Put stuff on the pre-treated paper and expose it to sunlight
- Once exposed, put the paper in water for a couple of minutes to “fix” it
Some of my friends have mentioned that they would like to try making solar prints themselves, so I am including more information about options suitable for older children or adults than I usually do in these projects. Solar printing can result in a simple, straightforward piece, easy enough for a 4-year-old like my grandson to complete, or something more complex.
Solar prints, or sun prints, are actually cyanotypes. Cyanotype is a photographic printing process that produces a distinctive cyan-blue print. The process was discovered in 1842 by British scientist and astronomer John Herschel. It’s how people used to make architectural blueprints. If you use pre-treated paper, as I did for this project with Finn, it’s very quick and easy. For older children or adults, you might want to obtain the chemicals and coat your own paper. It’s not a difficult process and if you use a nice heavy watercolor paper, the results can be stunning. I have also seen people treat fabric, like unbleached muslin or canvas, to make gorgeous pieces such as scarves, cushions and tote bags.
My favorite use for solar prints is to scan them into a digital file and make them a layer in a mixed media digital art piece. I use this as a project when I teach digital art. Even a very simple solar print can provide an interesting background. In the example below, I left the solar print the original cyan color, but you can change the hue in your graphics program (such as Adobe Photoshop) to make it any color you wish. This print actually has two solar prints layered into it – one of rice and one with the chopsticks.

Needed Materials:
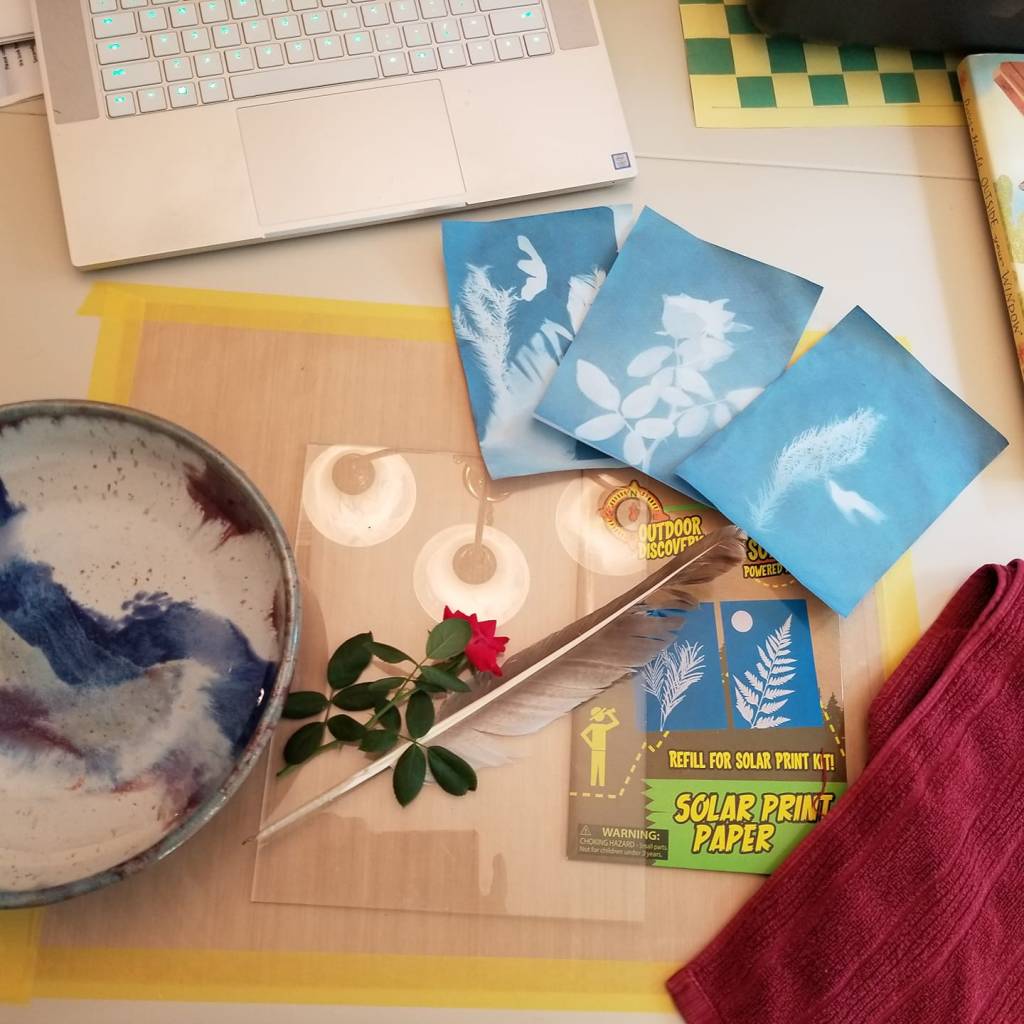
- Pre-treated paper. I usually buy Toysmith Solar Print Paper Refill Pack (I don’t know why they call this a refill pack; it works fine as a stand-alone), although there are lots of different brands available. This product is currently 12-5″x7″ sheets for $5.99.
- Flat materials such as leaves, feathers, flower petals or paper cut-outs. The flat material will mask the treated paper underneath, leaving a silhouette of the material. Color and texture don’t read well – you get only the outlines of the material. You can see in the example above that there is a little bit of gradation in the color of the rice and the chopsticks, which gives a slight impression of shading or dimension, but not much. Thick objects like acorns or marshmallows mostly just show up as blobs. Transparent objects may or may not work – sometimes they result in cool, unexpected effects. I had my rice contained in a clear plastic hard-shell package that had faint ridges around the outside edges. I didn’t think they would show up, but they created a subtle pattern that I liked and decided to keep.
- A book or notebook that you can sandwich your paper and materials in to carry them outside for exposure.
- This is optional, but a clear pane of acrylic or plexiglass (even glass if you are careful and tape the edges) is really helpful to hold your materials in place while the paper is exposing. There’s a little cardboard frame in the Toysmith package that has a cellophane pane in front. I think it’s intended for display purposes, but in a pinch on a windy day I have put my treated paper and materials into it to hold everything in place.
- Shallow dish or pan with about an inch of water in it.
- Dishtowels or other absorbent towels to blot the prints.
Instructions:
- The treated paper comes in a black plastic envelope to protect it from light. Inside lighting doesn’t do much to it, but you want to give it as little exposure as possible until you are ready to put it in the sun. The treated side of the paper is a mid-tone blue and the back is white. Take out just one sheet and place it on your work surface, treated side (blue) face down. You are going to use the back of the paper for playing with your composition.
- Experiment with arranging your materials on the back side of the paper until you have a composition you like, then carefully slide your paper out from underneath the materials.
- Open the book or notebook you are going to use for carrying purposes and place your treated piece of paper face (blue) side up on one of the pages. Arrange your materials on the blue treated paper in the composition you chose.
- If you are using a clear piece of acrylic, plexiglass or glass, place it over your materials now.
- Close the book or notebook. This will keep everything in place and protected from light while you carry your work outside and place it in the sun.
- Go outside and find a sunny level spot. Place your book or notebook on the ground and open it up. Stand out of the way so your shadow doesn’t fall on your work and let the sun shine on it directly until the background changes from that mid-tone blue to almost white. In my hot Texas sunlight, that takes 2-5 minutes. My daughter’s family lives in the northeast and it took quite a bit longer, even on a sunny day – I think about 10 minutes or so. Note: this project can be done inside with a UV light-box, but since most of us don’t have one of those at home, I am mentioning this just as a side note.
- When the background is almost white and you see a distinct difference in the exposed and unexposed areas, close the book and carry everything back inside.
- Place your paper in the dish of water. If you are making more than one print at the same time, you can stack several in the water, just make sure both sides of each piece are wet and not stuck together.
- After a minute or two in the water, you will notice the background has changed from almost white to a darker blue and the part that was blue is changing to white. When you are not seeing much change anymore (doesn’t take long – maybe about 5 minutes max), take your print out of the water and place it on a towel to dry. Use the towel to blot off any excess water.
- As the print dries, the background will continue to change to a deeper blue. Sometimes there are some light pink splotches on the finished print. I’ve been told this is caused by chemicals in the water. Since there’s not really anything you can do about it, I choose to embrace these spots as part of the process. If you really hate them, you can scan the piece into a digital file, adjust the color in a graphics program and print a clean copy.
- Let your print dry completely before handling it. If it warps or wrinkles a little in the drying process, you can press it flat under a stack of books or even using an iron (low temp, no steam).
Extras:
The book I chose this week is Outside Your Window, A First Book of Nature by Nicola Davies, illustrated by Mark Hearld (Candlewich Press, 2012). This is a big robust poetry book with poems about a plethora of subjects, divided into sections by season. It is too long to cover in a single reading with a child, but it would be great to read one or a few of the poems and discuss together as the year progresses and the seasons change. Many of the beautiful illustrations are created using collage techniques, so this would also be an excellent book to read while working on collages.
Results:
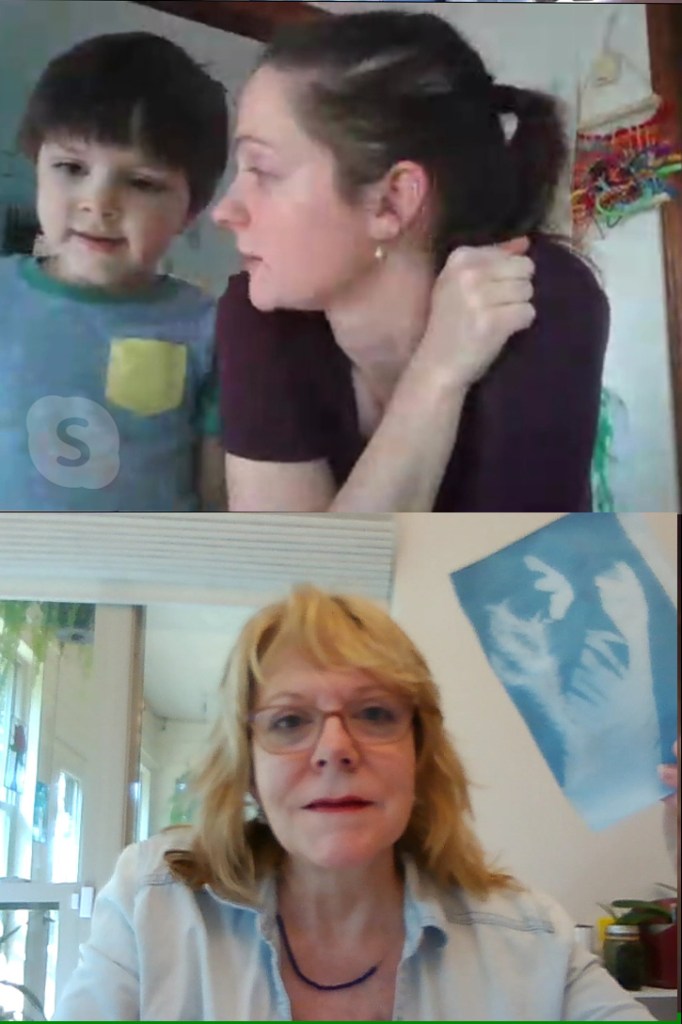
- I had not given my daughter detailed instructions about how we were going to do this project, so that resulted in a lot of chaotic running in and out of the house to gather materials and make the print. I learned that for a project this complex, I should send her a summary of the project ahead of time so she can get things together and knows what to expect. Sorry, Jessa! She and I may have felt a little frazzled, but Finn seemed to think all the frenetic activity was great!
- At first we had trouble getting their prints to work until we discovered that northeastern sunlight is just not nearly as intense as Texas sunlight. When they moved to a brighter spot and left the paper exposed for a longer time, it worked.
- I had some concerns about whether this project was one that would capture Finn’s imagination – there are a lot of steps and the finished prints are beautiful, but in a subtle way with their nuanced coloration. He seemed to really enjoy the project, though. I guess the process of using sunlight and water to magically transform a piece of paper into a photographic print is pretty cool!

Suggested Follow-Up Activity:
- Some of these prints turn out so well that I have matted and framed them. A monotone grouping can be so striking. They pair beautifully with a blue and white color scheme and objects like Blue Willow china or Flow Blue pieces.
- Small sized pieces like these (5″x7″) work perfectly to use as the front of a greeting card. You can use the original and make it a one-of-a-kind, or if you scan the image in as a digital file, you can easily print multiples.
- One of these prints could serve as the basis for an embellished work. You might try adding pen and ink detail, or paint on some other colors (metallic paint could be fun), or glue on some flat textural objects like leaves, grass or seed pods.
